How to Braid Three Strands: A Clear Beginner Sequence
A basic three-strand braid repeats one move: take an outside section across the center, then do the same from the other side. The section that crosses becomes the new center. That changing middle position is the detail most beginners miss. This guide calls the three starting sections A, B and C; the words left, center and right describe where the sections are now. This is an ordinary free-hanging braid, not a French braid, so you do not add new hair after the three sections have been divided.
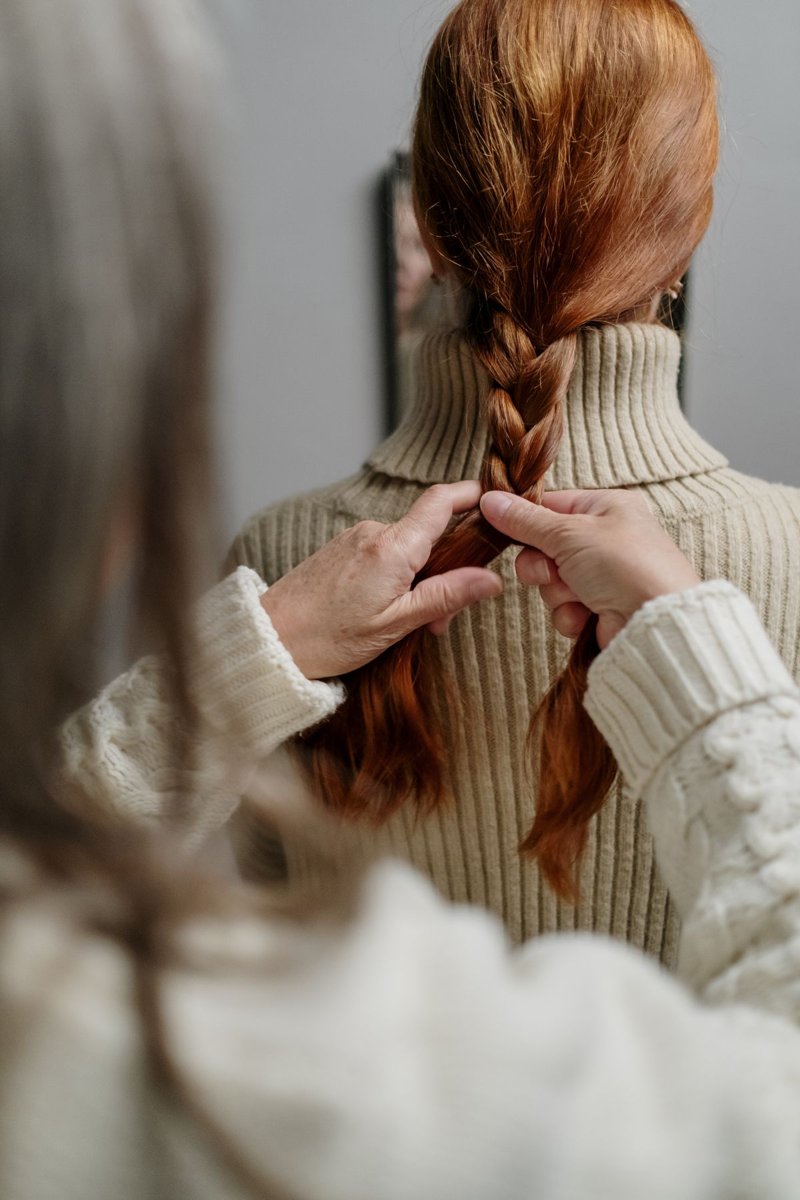
Photo: cottonbro studio · Photo license. Hairstyle reference photograph; follow the written steps and adapt to your length and texture. The pictured person is not an author or endorser.
Best suited to: Best starting point: hair long enough to hold three separate sections below the nape. Practice on a loose side section first.
What you need
- A small covered elastic
- A comb or your fingers for separating hair
- Optional three ribbons or cords for practicing the pattern away from the head
Step by step
- Prepare a manageable section and divide it into three bundles of similar size. For a full braid, bring the lengths to the nape first. For practice, bring a section over one shoulder where you can see your hands. Keep the roots relaxed.
- Name the starting positions left, center and right. If you use letter markers, begin with A on the left, B in the center and C on the right. Hold the bundles apart so that loose strands do not accidentally join a neighboring section.
- Take the current right section over the current center. In the letter example, C crosses over B. The order is now A, C, B, so C is the new center. Pause and reset your grip before making the next crossing.
- Take the current left section over the new center. A crosses over C, leaving the order C, A, B. A is now the center. This completes one right-and-left pair; do not keep moving the same named section on every turn.
- Repeat right over center, then left over center. Move your fingers downward as the braid grows and separate the unbraided lengths below your hands after each pair. Keep the spacing regular without pulling the scalp or yanking the sections apart.
- Stop before the sections become too short or too uneven to manage. Leave a loose tail and secure it with the elastic. On layered hair, stopping earlier often makes a neater result than trying to braid down to the very shortest ends.
- Check that the braid lies comfortably when you turn your head. For a wider finish, gently adjust the outer loops below the scalp while supporting the braid. To undo it, remove the elastic and reverse the crossings from the bottom upward.
Practice the order before the hairstyle
Three contrasting ribbons tied loosely to a stationary support make the crossing pattern easier to see. This is a hand-coordination exercise, so the ribbon result does not predict how every hair texture will behave. Say right over middle, left over middle as you work, then stop after a few crossings and identify the current center. If you are learning directly on hair, make a small side braid first. Holding a full head of hair behind you adds an extra challenge that is separate from understanding the pattern.
Fix the most common braid problems
A twisted rope instead of a braid often means you are moving entire bundles around one another without consistently crossing an outside section over the center. Undo to the last clear crossing and restart slowly. A thin section running out early usually means the starting division was uneven or hair migrated between bundles. Re-divide before trying again. Short layers sticking out are not necessarily an error; they may simply be shorter than the path through the braid. Let those ends stay soft rather than pulling them through neighboring loops.
Adapt the finish to the texture
Smooth, fine lengths may need a smaller elastic at the end; use a covered one that is easy to release. Curly or coily hair can be divided in its existing texture, with the finished braid looking fuller or shorter. Detangle by your usual suitable method instead of treating brushing as a requirement. Keep the first crossings loose enough that the braid does not pull at the hairline. This tutorial does not cover long-term installed braids, added extensions or tight scalp braiding, which involve different preparation and maintenance decisions.
Your quick checklist
- Each crossing uses the current outside section.
- The crossing section becomes the new center.
- Loose ends stay separated between crossings.
- The first crossings do not pull at the roots.
Common questions
Is this the same as a French braid?
No. A French braid adds hair from the head at each crossing. This version uses only the three sections divided at the beginning.
Can I start with the left side instead?
Yes. Alternate consistently: left over center, then right over center. The repeating structure matters more than which side makes the first move.
Why are the last few inches uneven?
Hair often contains different lengths. Stop where all three bundles are still manageable and leave an unbraided tail instead of forcing the pattern to the tips.