No-Heat Loose Waves With a Simple Daytime Braid Set
A braid set can leave a wave pattern after it is released, but the result is not the same on every head of hair. Some straight hair drops quickly, natural waves may become more organized, and curls or coils may form a different stretched pattern rather than the loose waves shown in inspiration photographs. This guide is a small daytime experiment: make loose braids while awake, allow any slightly damp hair to dry completely, and inspect the result. It does not involve hot tools, tight wrapping or sleeping in wet hair.
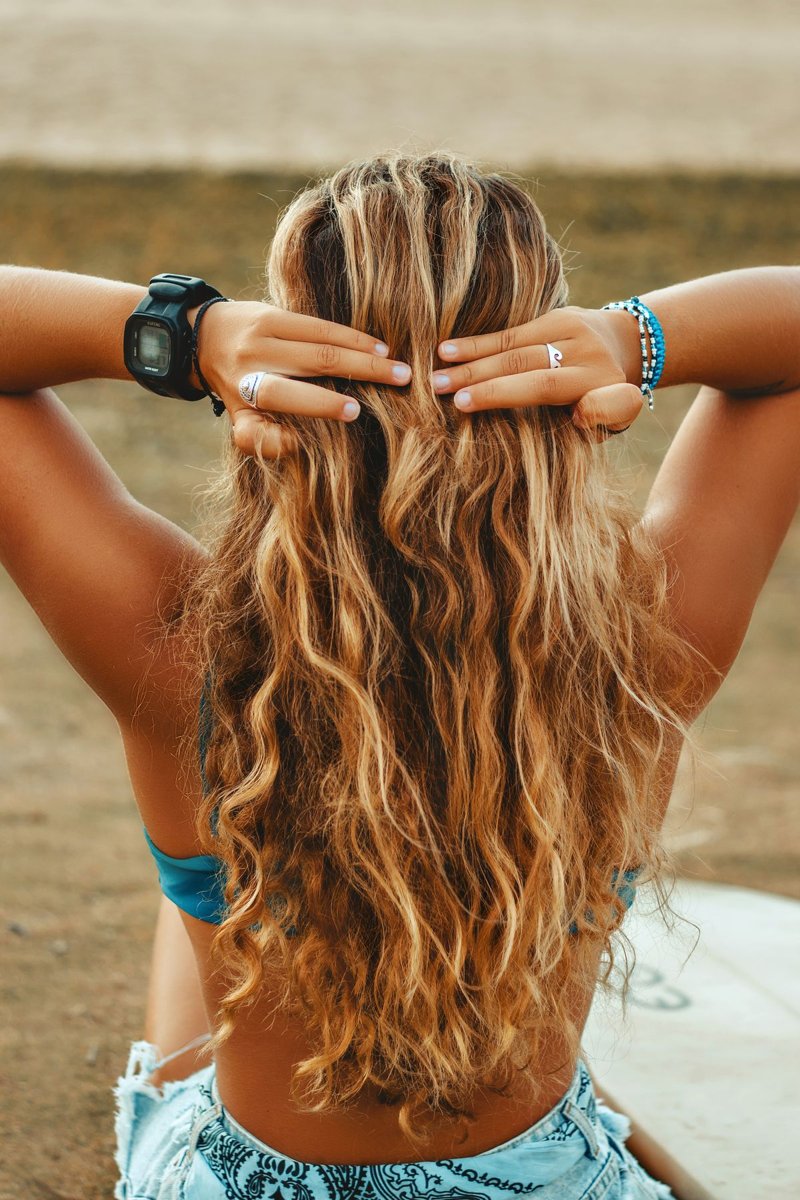
Photo: Lucas Andrade · Photo license. Hairstyle reference photograph; follow the written steps and adapt to your length and texture. The pictured person is not an author or endorser.
Best suited to: Best starting point: medium or long hair that can be loosely braided. Results depend on existing texture, length, products and how the hair dries.
What you need
- Two small covered elastics
- A comb or fingers for sectioning
- Optional small amount of a styling product you already know suits your hair
Step by step
- Start with hair that is dry or only slightly damp through the lengths. Do not begin with dripping-wet hair or assume a fixed drying time. If your hair takes a long time to dry in a braid, choose a dry-hair test or skip this method.
- Divide the hair into two manageable sections from front to back. Leave the roots and hairline relaxed. You can test a small hidden section first if you are unsure how your texture responds or do not want to commit the whole head.
- Braid one section loosely using the three-strand outside-over-center pattern. Begin below the scalp rather than pulling each crossing tight against the roots. Keep the crossings similar in size so the set is not uneven along the length.
- Leave a short unbraided end and secure it with a covered elastic. Repeat on the other side. Use only enough elastic loops to keep the braid closed; a tightly wrapped fastening can leave a pronounced bend at the end.
- Leave the braids in while awake and check them periodically. If you began slightly damp, wait until the interior lengths feel fully dry before releasing. Drying varies too much by density, humidity and section size for a universal timer.
- Remove the elastics and open each crossing with your fingers from the bottom upward. Do not pull a comb straight through the intact braid. Let the released sections settle for a moment, then separate gently only where the finish needs it.
- Assess the result in normal room light. If brushing makes it expand more than you wanted, use your fingers instead. If the pattern drops, accept the softer finish and note what happened; do not respond by redoing a much tighter set at the roots.
Understand what changes the pattern
A small number of broad braid crossings tends to create a larger zigzag than many tiny crossings, but your existing texture strongly affects what remains after release. Hair length also changes how much of the style is taken up by the unbraided ends. Product is optional and should be something you already use comfortably, not an unfamiliar mixture selected for an experiment. No-heat describes the absence of hot tools; it does not guarantee that a method cannot tangle hair or create pulling. Comfortable handling still matters.
Troubleshoot the first attempt
If the ends remain straight, the unbraided tail may have been longer than you wanted. On the next attempt, braid slightly farther down only if all three sections remain manageable. If the top is flat and the lower half is textured, that is expected when the braid begins below the scalp; adding tight scalp crossings would be a different style. If some lengths feel damp after release, let them dry loose rather than repeatedly braiding them to chase a deadline. If the result feels tangled, stop separating it for volume and return to your usual gentle detangling routine.
Keep the experiment realistic
Photographs often show a selected moment, not how a style looks after several hours. Notice whether the texture still feels comfortable and whether the result is worth the preparation for you. You can wear the finished hair loose, make a low ponytail or simply return to your natural arrangement. There is no need to repeat a setting method that does not suit your hair. This guide makes no promise of permanent texture change, damage repair or hair growth. Remove the braids if they cause discomfort, and do not turn a loose daytime set into a tight overnight routine.
Your quick checklist
- The braids start below the scalp and feel loose.
- Hair is dry before the set is released.
- Elastics can be removed without snagging.
- The result is judged on your own texture, not a guarantee.
Common questions
How long should I leave the braids in?
There is no universal time. With slightly damp hair, full drying is the relevant checkpoint, and a dense braid may dry slowly. Stay awake to monitor comfort and do not rely on a promised number of minutes.
Will it work on naturally curly hair?
It may change the arrangement or stretch the existing pattern, but loose waves are not guaranteed. A small-section test is more informative than assuming a result from a photograph.
Can I sleep in the braids to save time?
This tutorial is deliberately a daytime method. It does not recommend sleeping with damp hair, hard accessories or tight styling tension.